
Well, I completed one of the craziest home decor projects EVER. It made me hate life a few times. There were times when I thought about throwing myself in the stream running alongside my house and living with the giant turtle who has a nice life there. Where my turtle friend lives, there aren’t any unreasonable home decor projects.
But then I decided to be a grown up and face the mess I had created. I figure we can all learn from our mistakes, eh? Or even better, you can learn from my mistakes so that you can attempt this project without wanting to move to the stream with a giant turtle.
On Stenciling…
- There are many websites on the internet with pictures of happy looking ladies who are stenciling their home til they’ve run out of surfaces to stencil. There are even really crazy people who design and cut their own stencils. I’m here to tell you don’t do it. Order a stencil online. Look at pictures across the web and pick one that you like. I ordered this one and this one. I only ended up using one of them because I realized how deep I was in this and didn’t want to get in any deeper. The project got less ambitious as time went on and I’m still happy with the results.
- Application. There are many websites that will tell you about some sponge method, or some flat headed brush that Martha Stewart sells that suggests that you dab gently. Ignore! Use spray paint. The rest of it is too heavy. And the sponge look is a lil’ tacky in my opinion.
- Paint. Another mistake is that I failed to recognize that my gold spray paint that went down first was oil based. So when I brushed on the blue paint that I’d chosen, all of the particles parted like the Red Sea. I soon realized the blue paint I had was latex. So remember: oil on oil = yes; latex on latex = yes; latex on oil = no. But then I realized that I really shouldn’t be brushing the blue paint on so I moved onto spray paint. And that was the answer: oil based spray paint.
- Adhesive. There are a lot of websites that will tell you to use spray adhesive to get your stencil to stick. Others will tell you to simply tape it onto your surface and paint away. Neither of these work very well. We tried taping the stencil on and then used all of the different brushes: sponge brush, stencil brush, and a roller. None of those worked so then we went to the spray adhesive and the spray paint. The spray adhesive still wasn’t great because the paint was getting stuck to the spray adhesive so it was leaving residue behind. Then a light bulb went on in my head because of a project I worked on in my forthcoming book…Vaseline! I tried brushing Vaseline on the back of the stencil before I applied it to the wood and… it worked the best! It really blocked the spray paint from seeping through. It wasn’t perfect but it was the lesser of all evils.
- Taping and Drop Cloths. Spray paint really travels. Like really. You may be blowing blue flecks from your nose next time you use a tissue. Gross I know, but I’m all about full disclosure. Really cover the stairs with drop clothes as well as tape. Even the sides of the stairs. And if you find blue dust has settled where you don’t want it to, you can use this great stuff called “Goof Off” along with a rag. If you cover a spackle blade with a rag that will help you apply the “Goof Off” evenly.
- Touching Up. Have a few good thin brushes and a small container that you can spray paint into. Then touch up once everything has dried to create cleaner lines.
- Sealing. Once everything has dried for at least 24-hours, you’ll want to brush a coat of polyurethane onto each riser to help seal the paint and give it a nice finish.
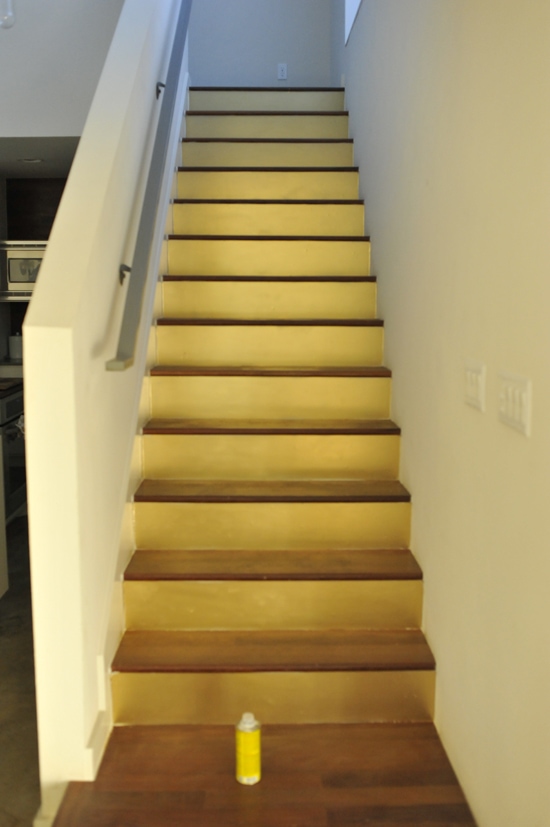
Okay… so if you’re feeling bold and want to try this at home… here is how it turned out:
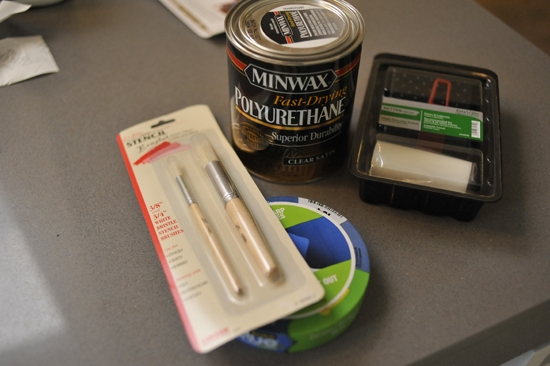
Some of the brushes we tried (spray paint worked best). Along with the tape and polyurethane finish.
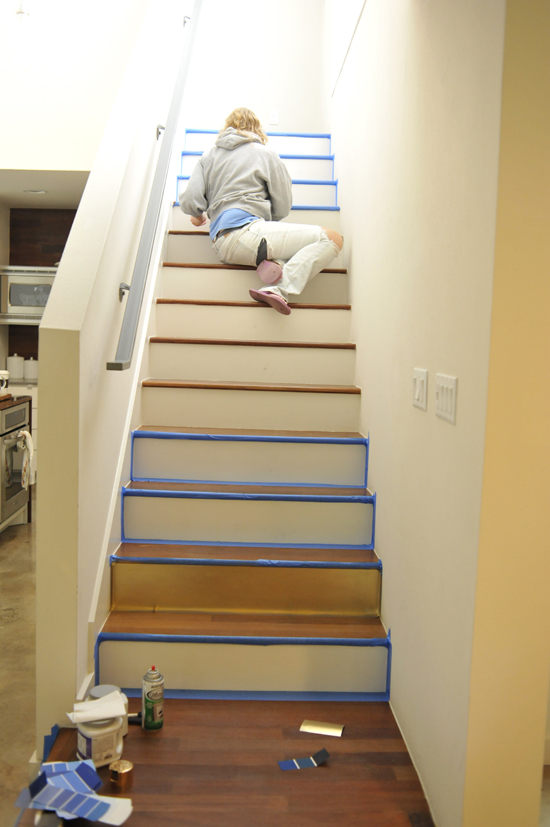
That’s my helper Laura who was fearless in this project with me and taped the stairs 1.2 million times. At least we lost brain cells together when we played with spray paint… we’re bonded for life!

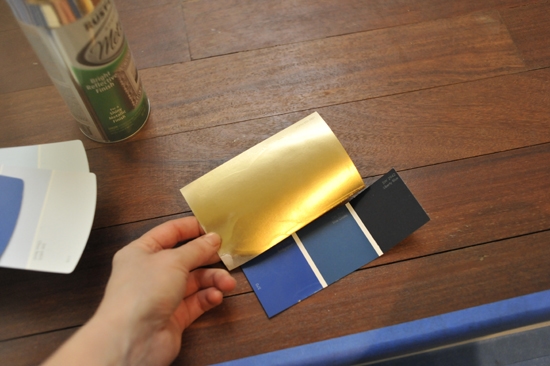
Here are all the paint samples we played around with when deciding on the blue color. We opted for something super dark and rich looking… a deep navy. It’s a good thing that it came in spray paint form when we changed gears from brush on to spray.
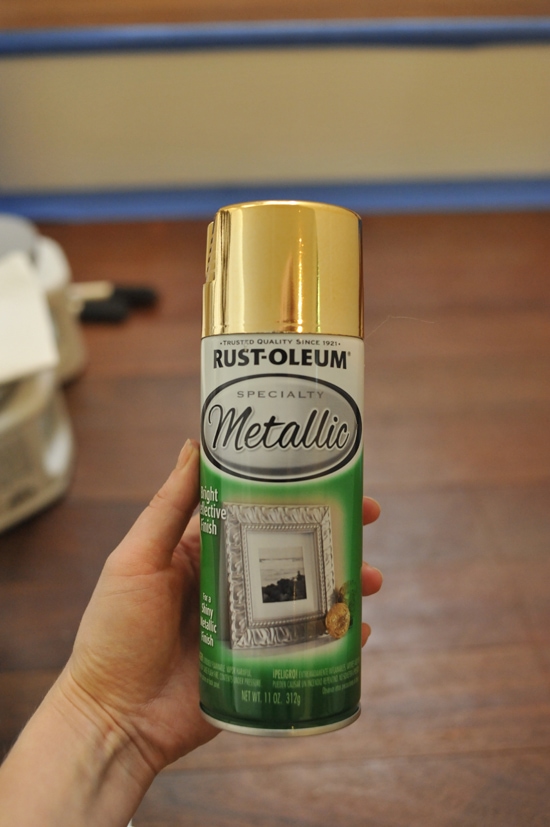
Here is the brand of spray paint we used in both gold and blue.
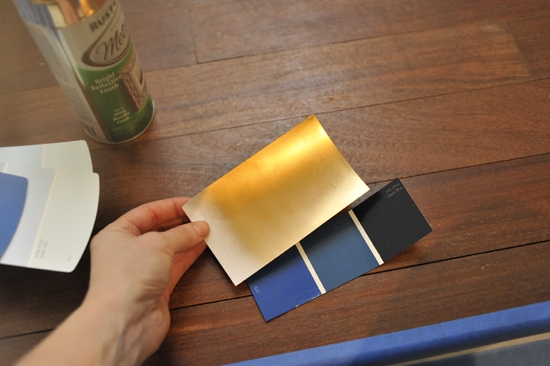
There are some other golds out there… this one had a more rosy copper tint.
But I went with the Rustoleum brand because it was more shiny and metallic.
Here is what it looked like when we painted it all on. We took the tape off temporarily because I had dinner guests coming over… I don’t recommend that, it takes a lot longer to tape your stairs up twice!
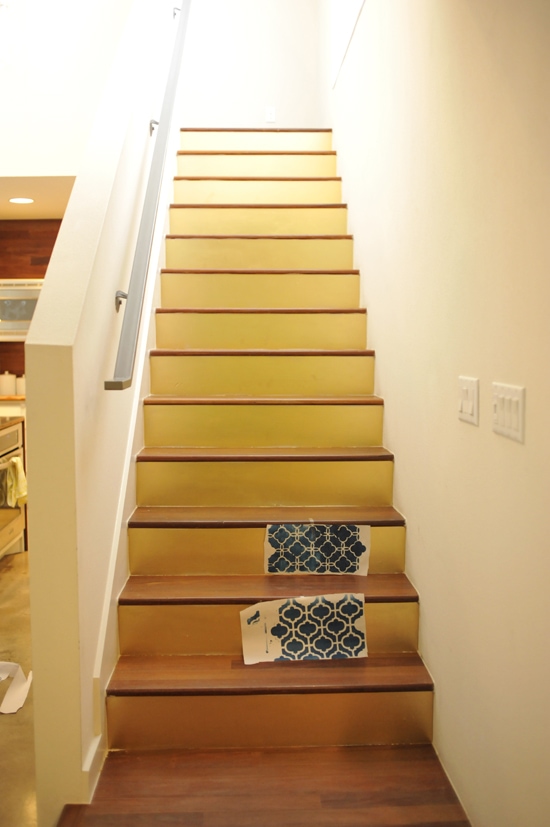
We tried the stencils out on paper to see how we felt about them. That helped us plan our pattern and ultimately helped us realize how much work it was and that… more was less! Which is why I opted for just one of the patterns.
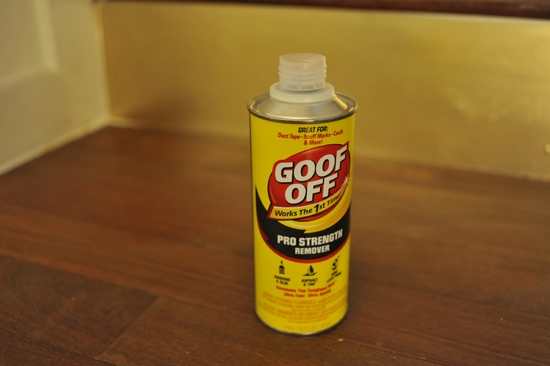
This is the stuff that I used to get ambient spray paint off of the wood.
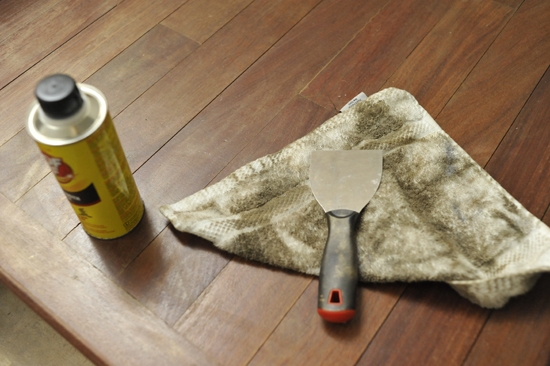
Get a rag and a spackle blade.
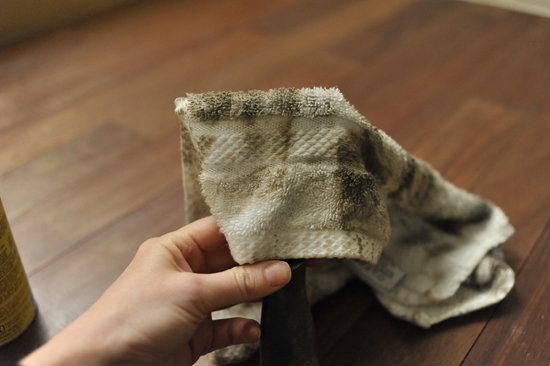
Cover the blade with the rag.
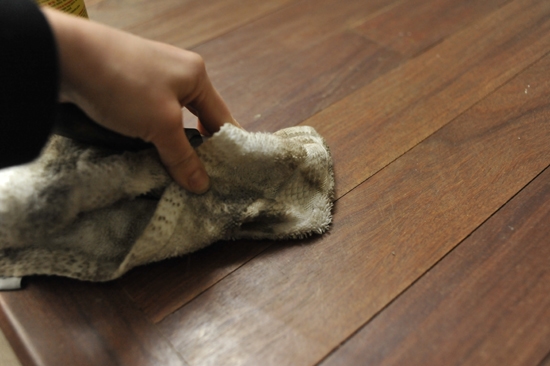
Douse it in Goof Off and rub away.
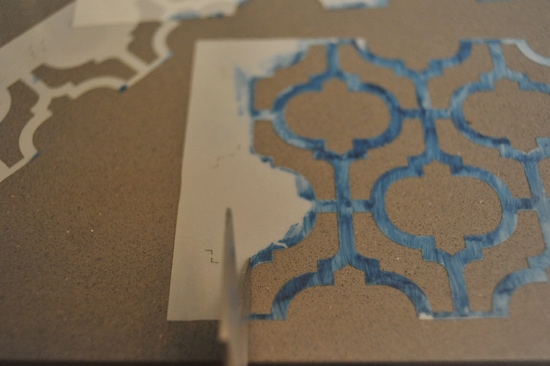
The stencil is strange and you really need to trim the end so it looks like the rest of the stencil so that you can overlap it properly. At least in the case of this stencil.
If you used oil paint and brush it on it is too thick and sticky. See what I mean? Add the spray adhesive into the mix and it’s a big ol’ mess. It really bleeds into the places it shouldn’t.
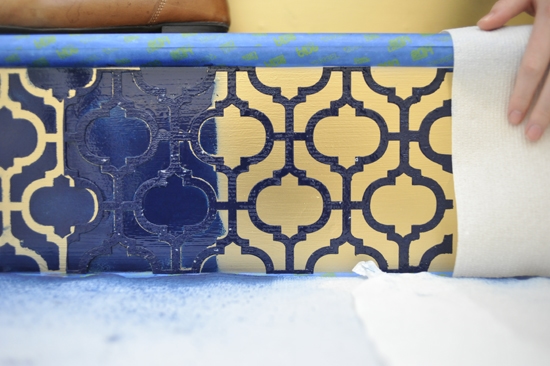
But if you apply the Vaseline on the back, lay it down and use spray paint, it is thinner and bleeds less. Be sure to place paper towel over the end of the stencil where you don’t want the blue to go, because the spray paint will travel far.
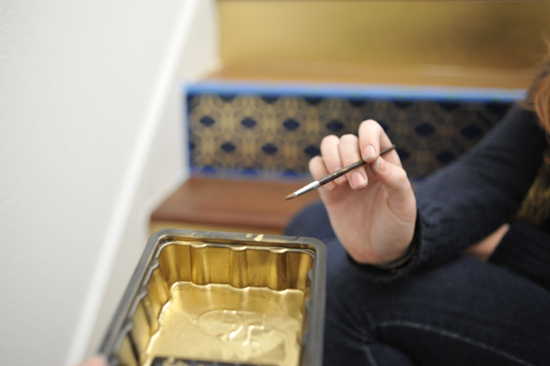
Once it is all dry you spray some gold (or whatever your base color is) into a container…

If someone is helping you they will hate you by now! Be prepared.
You’ll want to go live with the turtle in the stream at this point.
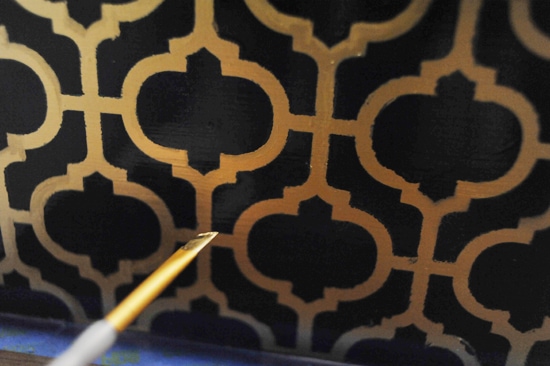
And carefully apply it in all the places that need a cleaner edge.
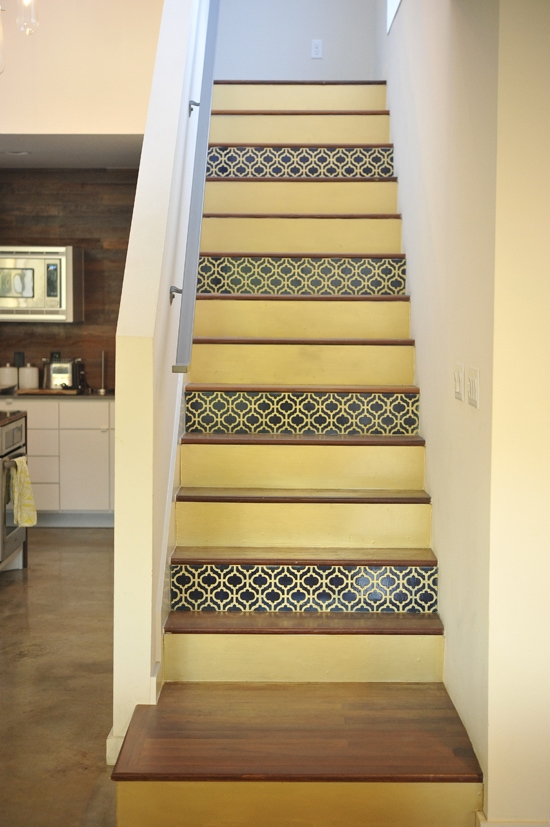

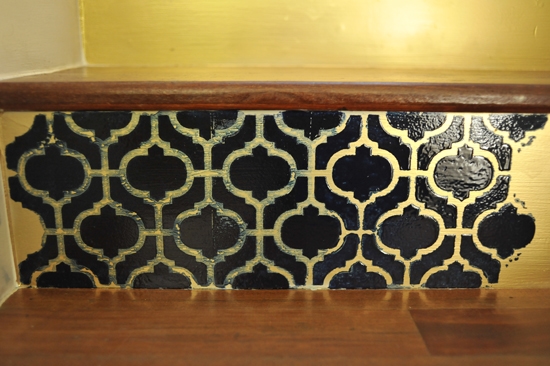
It will look like this when you’re done. I love it! I’ve just blocked out what it took to get there.
Give it a try! If you dare… just pay attention to my list of hard-won-lessons.
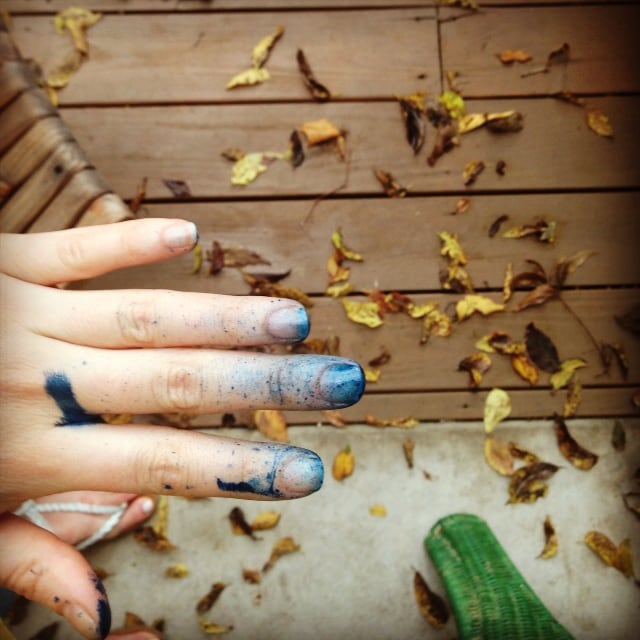
p.s. Expect your hands to look like this. You can do what Laura did and just paint your nails with blue nail polish after. Or you can do what I did and say it’s the dye pack paint in the fake cash from your bank robbery.


9 Comments
Thad S
I think you should start doing Home Improvement Adventures. Just let Martha be Martha and you do your Georgia thing, it is always so fun and refreshing.
Georgia
Love it 😉 That’s what my new book is all about so hopefully you’ll enjoy it!
alexandra
I’m going to try this this week…. Do you still love your staircase?
Georgia Pellegrini
I get comments on it every time someone comes over! It’s amazing.
LEE
I MUST HAVE READ ABOUT A THOUSAND TUTORIALS/BLOGS/DAY THREADS ON STENCILLING OVER THE PAST FEW WEEKS AND YOURS WAS BY FAR THE MOST HELPFUL! YOU’RE VASELINE TRICK WORKED WONDERS FOR ME THANK YOU!
lOVE WHAT YOU DID WITH your STAIRCASE, IT LOOKS STUNNING 🙂
Georgia Pellegrini
Hurray! Thanks very much Lee. I still love the staircase more and more each day. I am glad you are doing it as well.
Susan Chvala
Bought my stencil and ready to tackle the job. Sooooooooooooooo glad I read your post first. I would never have thought of a metallic background, vaseline or spray paint. Guess that turtle is going to be out there all alone!
thanks so much georgia!
susan
Tiff
Omg.. i wish i would have foUnd your page loNg before i stArted my diy stair makeover. i have literally Gave up on mine like 10 times now lol i did every that you Are telling people to learn from your mistakes.. i bought stencil plastic., cut my own stencils..tried stencil brUshes and Sponges,. Ive Taped and retaped idk how many times. Ughhhhh
So thank you for trying to save other people lol
Im gonna give the spray paint idEa a try..
and hoPefully get my stairs finally done,, withouT killng myself in the process lol
Thanks again
Georgia Pellegrini
I hope it works out for you!