
Editor’s note: Anjuli is the latest contributor and is truly a lady that lives out her pioneer dreams! She is a natural storyteller with many exciting tales to share and a wealth of #pioneerskills we all can learn from. We are super excited to share her first post about making a beer can oven, really how cool! Take it away, Anjuli!
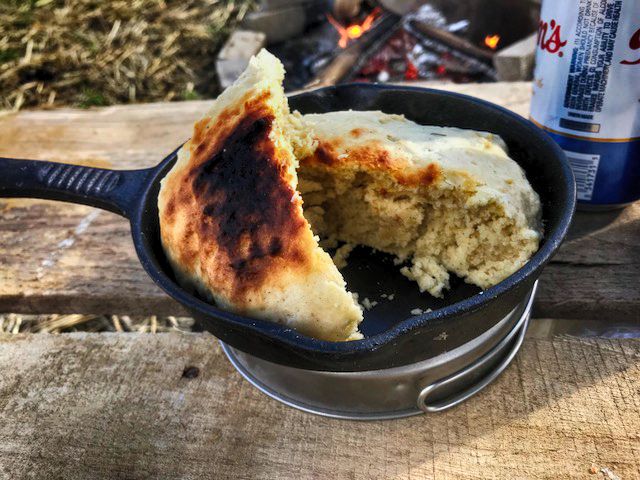
One of my favorite things about camping is how being in the woods inspires me to use my imagination. When all you have to work with is what you are willing to carry, you find yourself making tools out of the most unlikely objects. My favorite ‘campspiration’ to date was the time I really wanted some fresh bread to go with the wild rabbit and foraged onion stew I had simmering. I spied several empty beer cans waiting to be taken home for recycling and realized they might be useful in my quest. Thus, the ‘almost easy bake’ camp oven was born. What follows is exactly how to fashion your own beer-can oven.
How to Bake Bread In A Beer Can:
You can watch Georgia try Anjuli’s technique here in her Modern Pioneering video series.
Here are the step-by-step instructions from Anjuli:
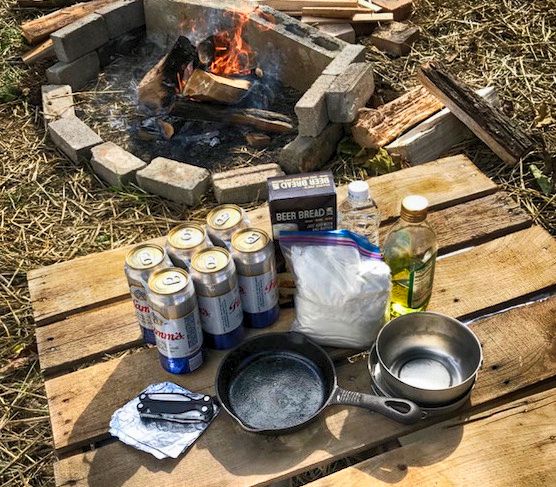
Supplies
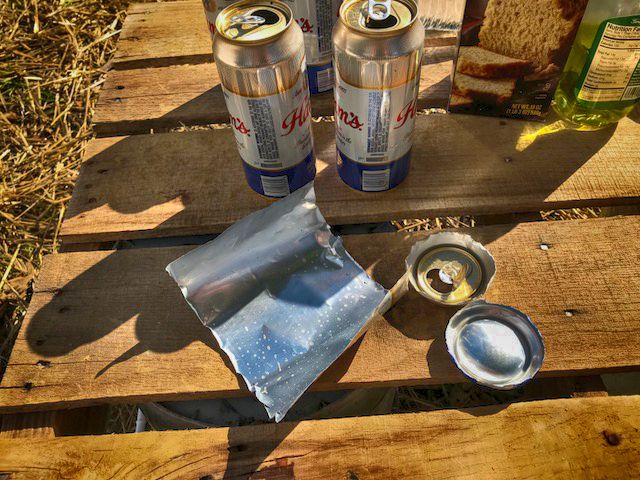
- 3-4 empty beer or other thin-walled metal cans (12-16oz)
- Multi-tool with scissors or sharp knife for cutting
- Oven ‘base’: either a large flat rock and/or a small cast iron skillet
- Your intended edible – I like a quick biscuit or bread mix, you can also use a frozen bread dough or make your own if you’re feeling adventurous
- A set of long-handled tongs or other hand protection for working close to the fire
Instructions
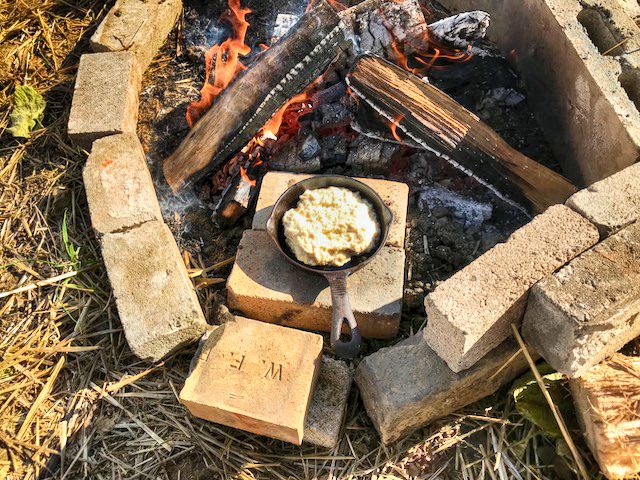
- Prep cooking surface by placing your stone base and/or skillet to one side of your campfire; it’s best to do this once the flames have died down and you have hot coals to work with.
- Mix or allow bread dough to thaw (if frozen) and/or rise.
- Prepare Oven:
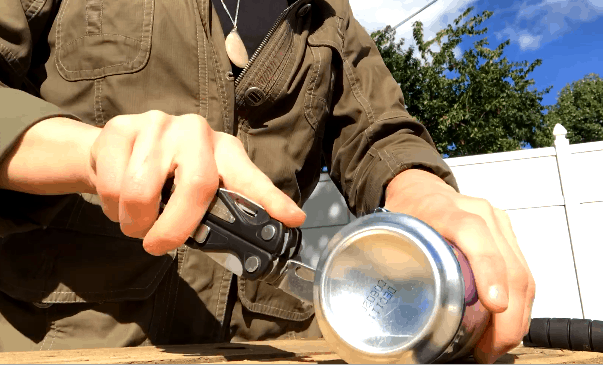
Using your knife, cut the top and bottom off your can.
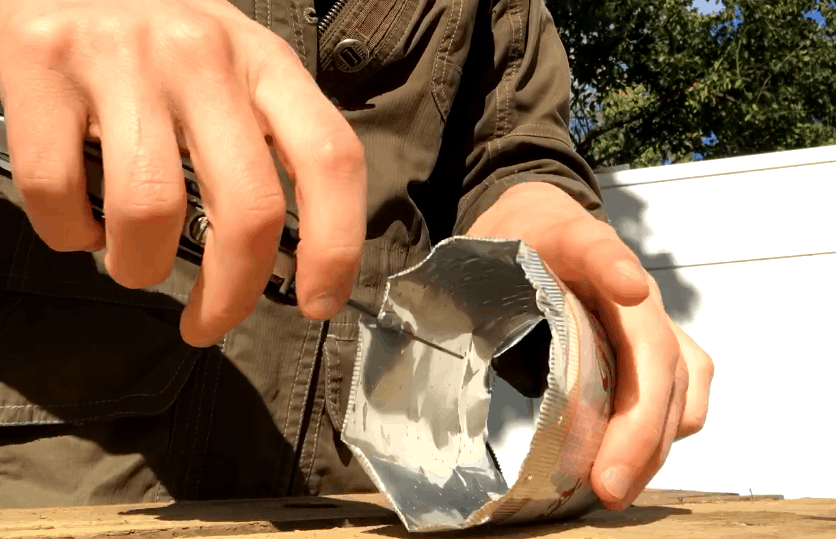
Cut in a straight line vertically down the cylinder and flatten each into a rectangle sheet.
Using 1-3 sheets of aluminum, create oven ‘sides’. This will end up looking like an open-sided box (open side to the fire) of some sort. The final sheet will form the top.
- Either place your proofed loaf directly on the baking surface or pour the prepared mixture into the skillet.
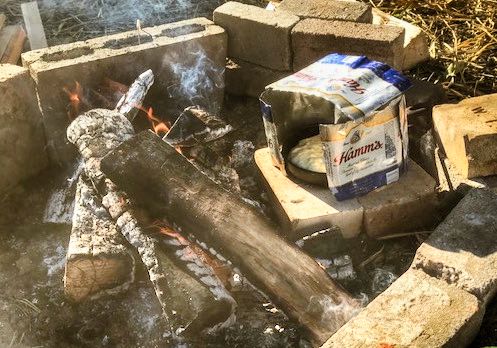
- Place your oven sides so that they enclose the side facing away from the fire to reflect heat in. Carefully place the oven top; you may need to weight it with a small rock in case of wind.
- Watch as your bread bakes, turning (with tongs) if necessary to bake evenly.
- When done, remove oven and using tongs, carefully move pan or loaf away from the fire.
- Allow to cool and enjoy!
Note: Since this isn’t a home oven, you will need to keep an eye on your set-up to make sure all goes as planned. Believe me, the end result – a bit of fresh, warm bread or biscuit with your rabbit stew or morning coffee – is totally worth it!


2 Comments
Lyndsey
I am so excited to try this! what a wonderful idea And what a cool woman!!
Georgia Pellegrini
Thanks Lyndsey! Please let me know how it turns out!! xx