
There are beautiful leaves in many seasons, especially in autumn. Why not save some of their beauty and turn them into gift tags? This is especially useful in the holiday season, but can be done any time of year. Here’s how to make some amazing, handmade gift tags out of beautiful leaves.
How to Make Gift Tags Out of Leaves:
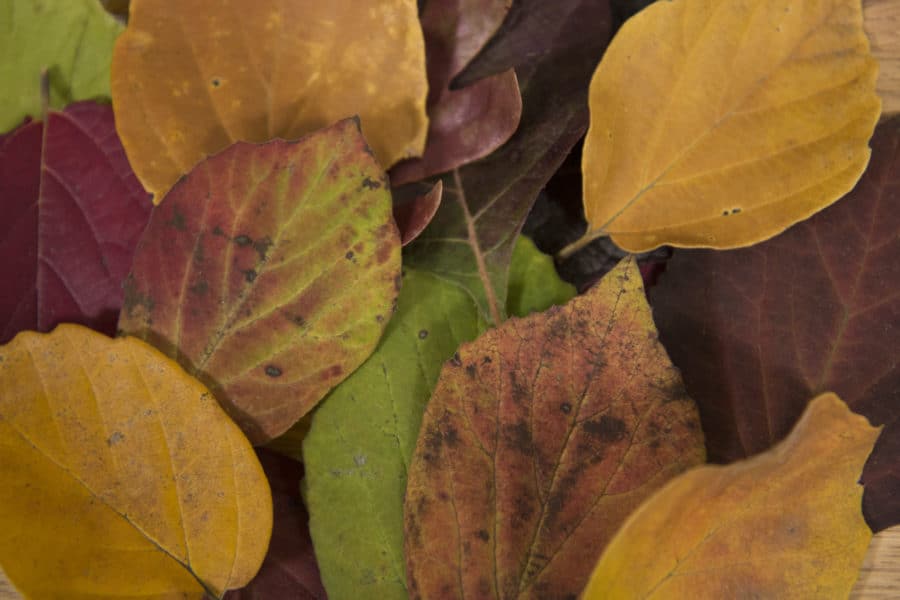
1. Gather Pretty Leaves
First off, search the ground for some bright colors. The key is to find leaves that are about the size of your palm. If it’s too small, there may not be enough space to write on. Unless your gift is very small (like jewelry, for example) and you are using a leaf tag just for decoration, the palm size rule is a good rule of thumb to follow. Otherwise, feel free to look for leaves in all shapes and color!

2. Press the Leaves
Lay out you leaves between two or three sheets of newspaper. Stack a bunch of flat, heavy material on them. As a kid back home, I used to use enormous textbooks and encyclopedias from my parents’ bookshelves. In college, I’m using my suitcase that I use for storage (meaning it’s huge and weighs a couple tons). Leave the leaves to be pressed for about 5-8 days. The newspapers that cover the leaves should be a little soggy in the places where the leaves are (they are absorbing all the water from the leaves). Feel free to change newspapers to fresh, dry ones after about 4 days, but this is optional. At the end of the process, the leaves should be flat, completely dry, and a little brittle if they are thinner. Additionally, here is how you can make a flower press that you can use for leaves as well.

3. Glaze
Once the leaves are ready, they must be glazed or coated so they won’t crumble under the touch. There are many ways you can glaze your leaves — clear manicure, transparent paint (paint base), and paint glaze. In my case, I snuck into my school’s studio art building to grab some transparent paint gloss. Leave your leaves to dry for 24 hours.

4. Poke a Hole
Poke a tiny hole for string or twine, and a bigger hole for ribbon. Use a toothpick or a needle for this, and be careful not to poke your fingers!

5. Write and Decorate!
Finally, the fun part! Grab your permanent markers (be sure they are smear-proof), acrylic paints, glitter, stickers, and whatever art supplies you can get your hands on. I , who was unfortunately on a limited supply of crafts, just used liquid white out and permanent pen to write on my leaves.

6. Put a (St)ring On It
Pretty self explanatory, and now I got Beyoncé stuck in your head.

Once your leaf tags are finished, tie them onto a gift and you are good to go! If you haven’t been able to go Christmas shopping just yet, keep them stored away until December. Good luck, and happy holidays!
Know any other crafts using autumn leaves? Let us know in the comments section below. You can also tag us on Instagram at @georgiapellegrini, and be sure to follow us on Facebook!
All photos by photographer Juna Lee. Check out her other works on Instagram at @you.nique.

