
The candles you buy in stores might look and smell pretty, but they also may contain harsh toxic chemicals, which could be bad for your health. On the bright side (no pun intended), I’m going to show you how simple it is to make an all-natural, homemade candle. Yes folks, the same process they used many years ago… And now, you’ll see just how easy this tutorial is and think, “Why haven’t I made these sooner?” Let your creative juices flow and you’ll never have to buy store-bought candles again!

You will need the following items:
- Soy wax, beeswax, or paraffin wax
- Candle wicks
- An recycled can to melt wax in
- A large pot with water (to act as a double boiler)
- A tall jar filled with cold water (optional)
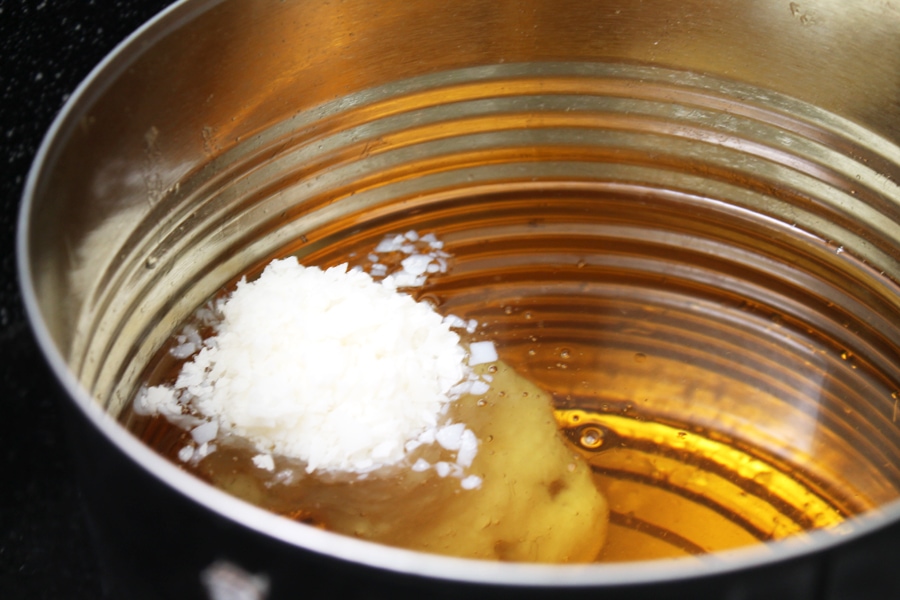
Start by filling a large pot with water to act as a double boiler. Then place a can inside the pot and fill it 3/4 of the way up with wax pellets.
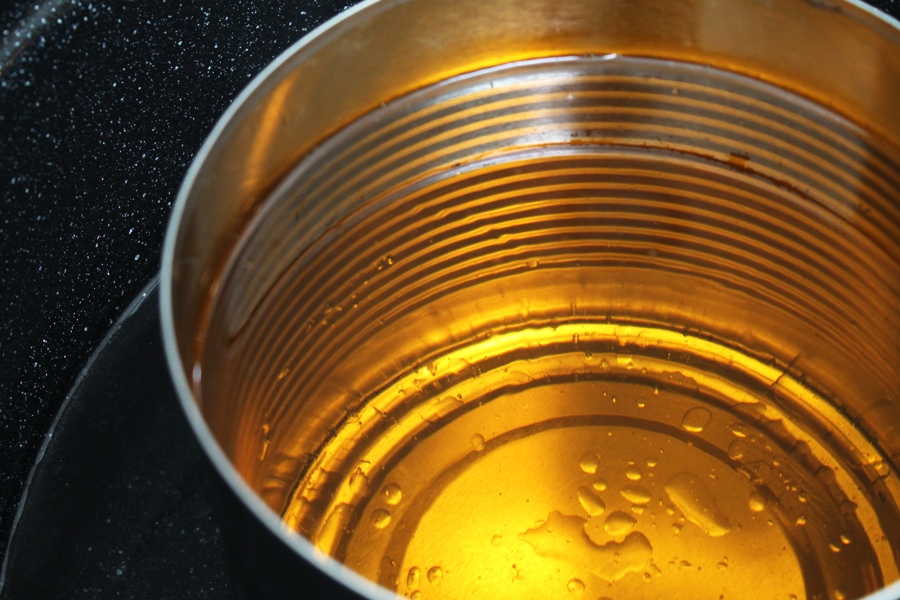
Let the wax do its magic and melt. This should take about 45 minutes. Then allow the wax to slightly cool for about 20 minutes.
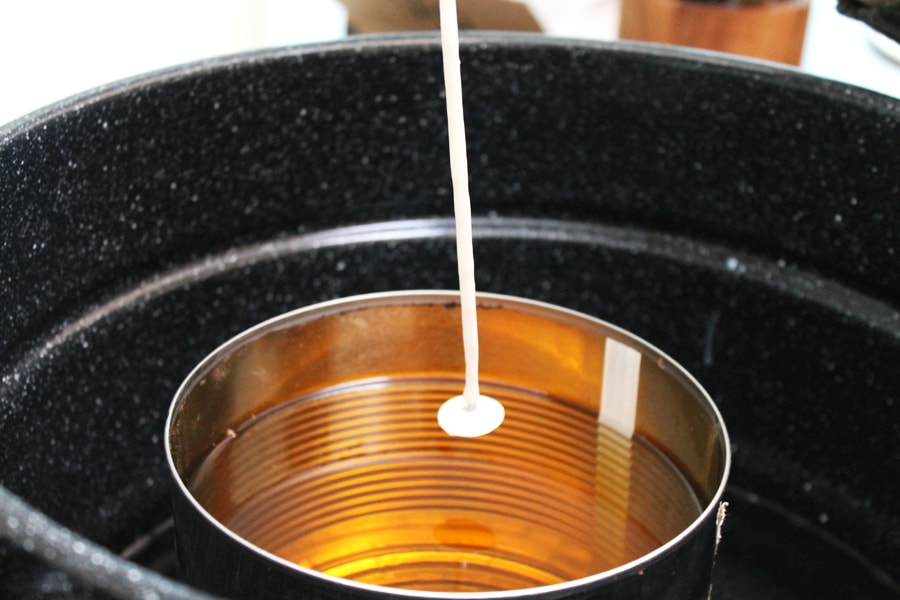
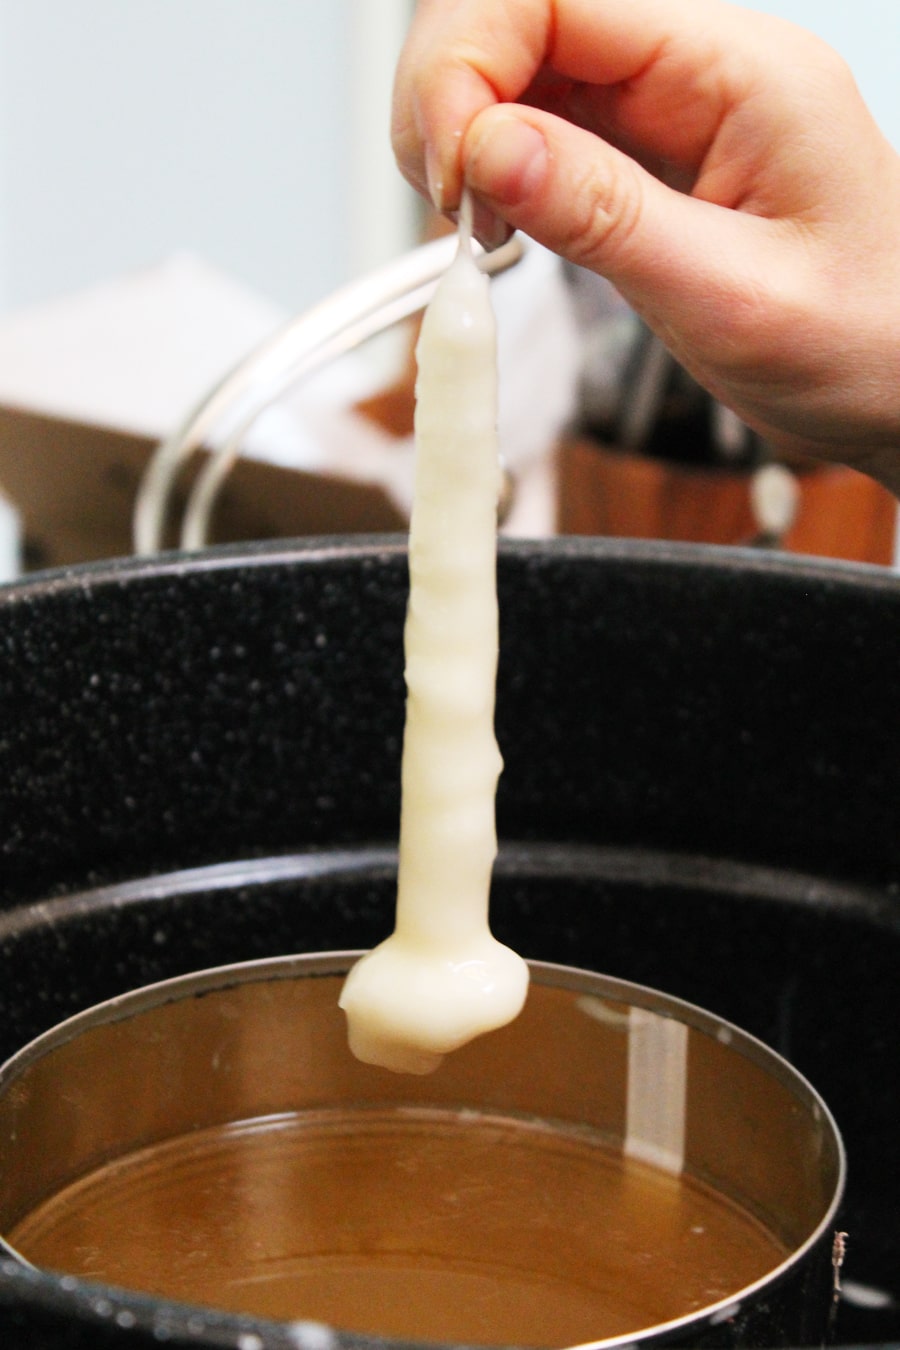
Now the fun part: Take a wick and dip it into the wax.
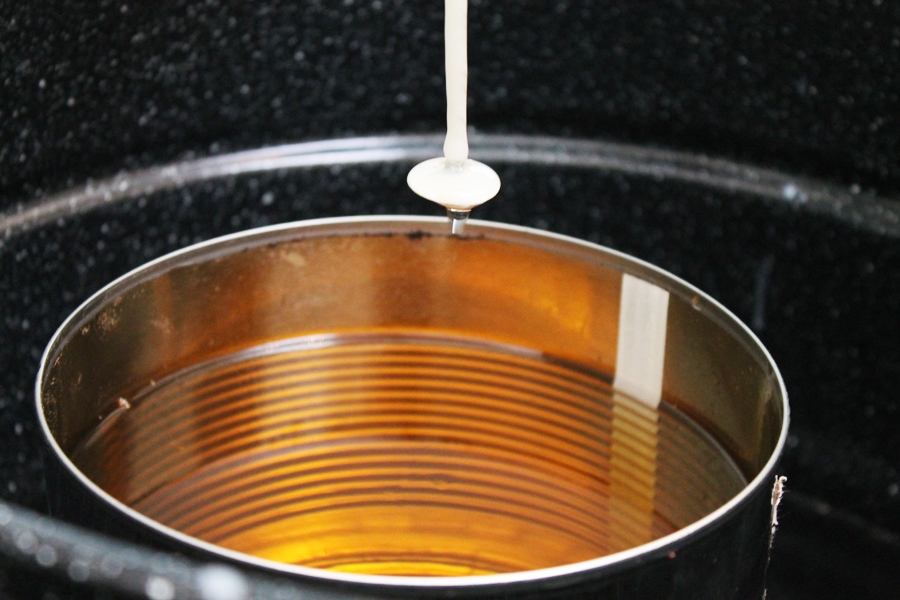
Let the wick drip-dry once you have lifted from the wax. And continue to dip and dry, drip and dry. Every now and then, take your tiny candle and plunge it into a tall jar filled with cold water. This keeps the candle firm and cools faster. I like to call this the “polar bear plunge.”
Repeat this process until you have reached a desired thickness for your candle like so.
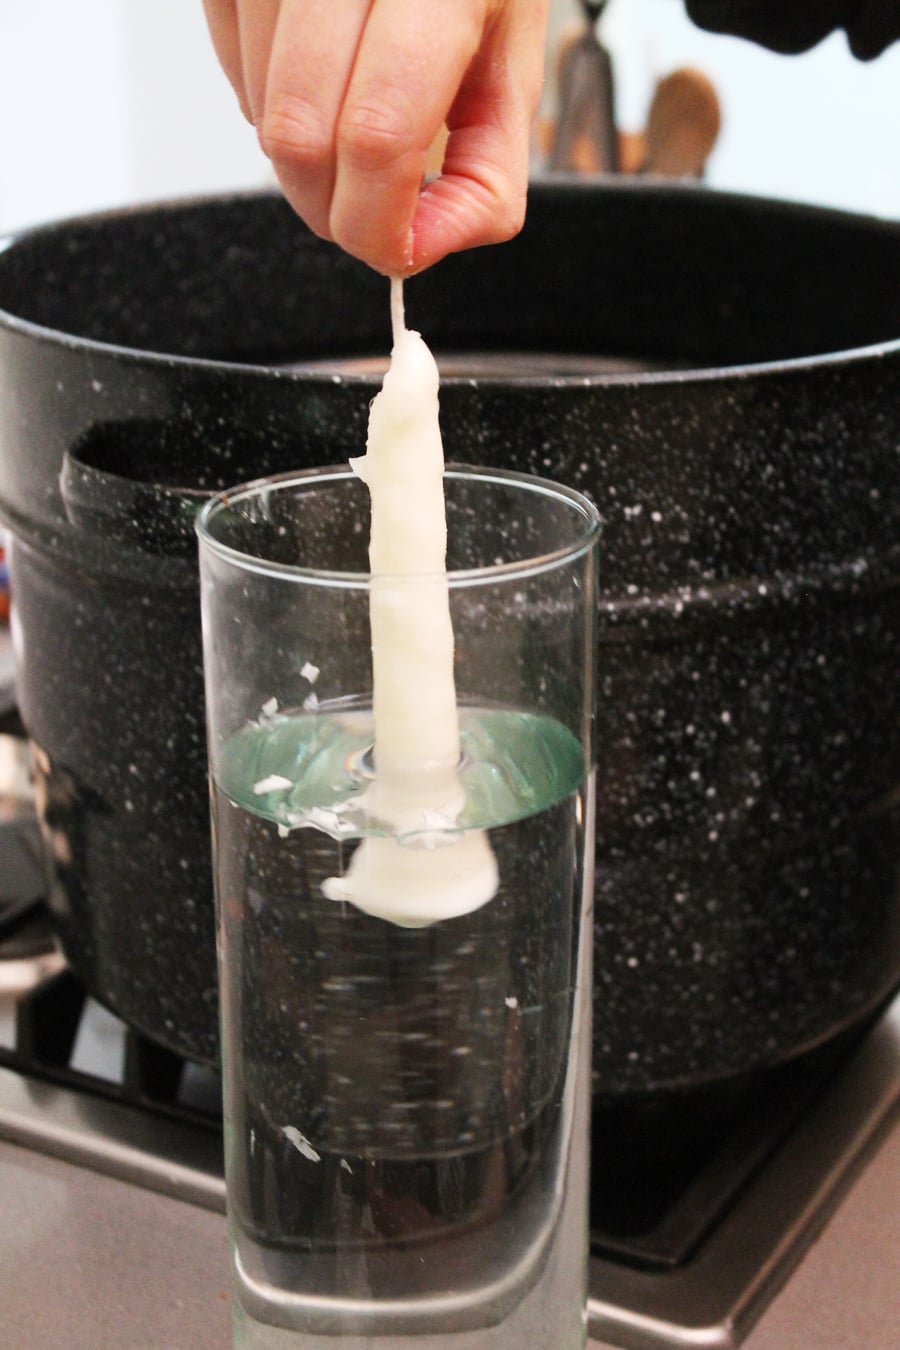
Here goes my “polar bear plunge.”
You can trim the candle’s based toward the end if it appears to be bulging and then re-dip it several times to even it out.
You’ll find that paraffin and soy wax take longer than beeswax. You can also add a few drops of essential oils like lavender and eucalyptus. And if you want to color your candles you could even add a few drops of food coloring.
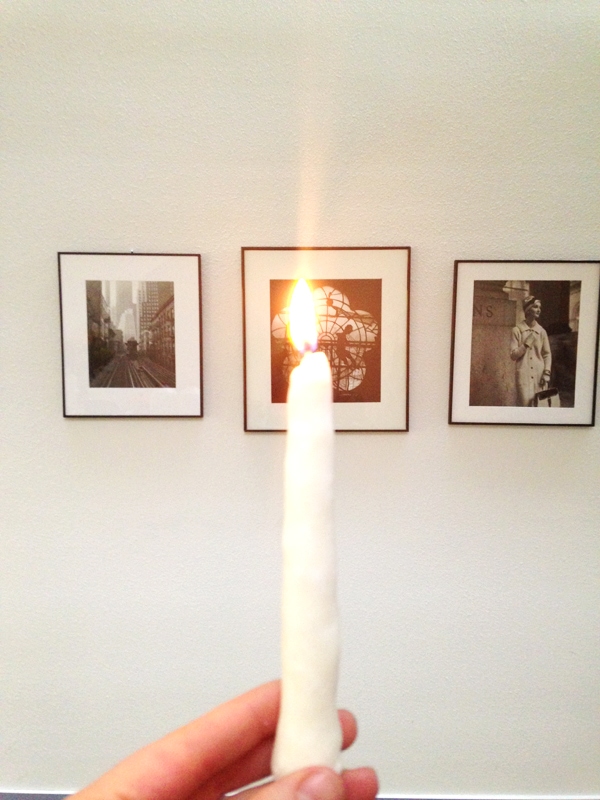
Then light ‘er up and watch ’em burn.
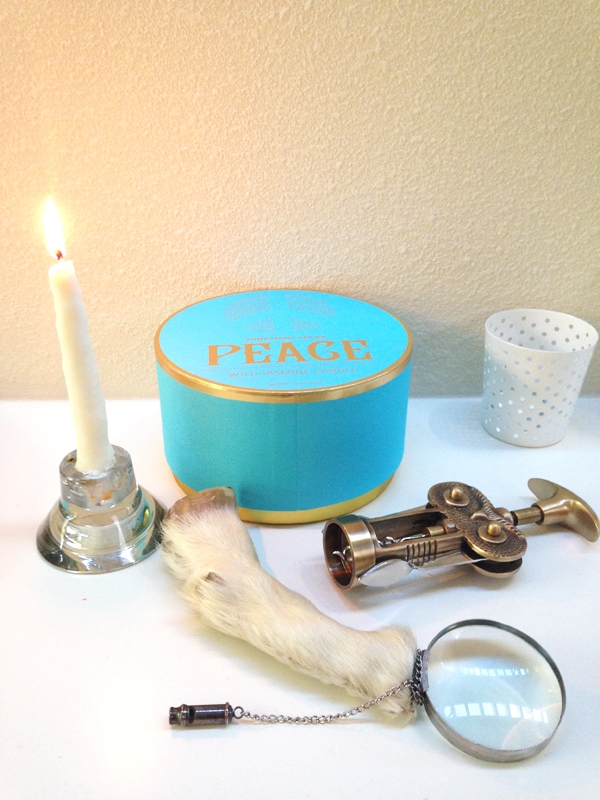
See, how easy was that? Simple materials make the best crafts. Not to mention you’re one step closer to becoming the ultimate modern pioneer.

